
How I Made My Animated Christmas Sign - Continued
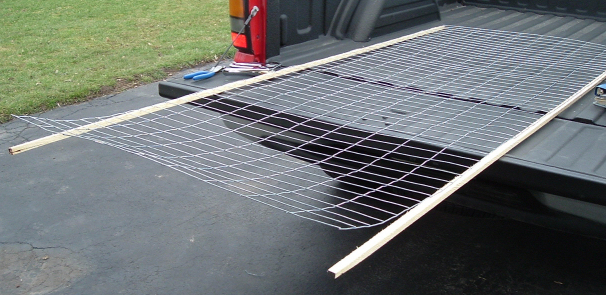
Now that is have the layout defined I needed to start making the individual panels. Because I chose the use galvanized fencing on a roll I needed tostiffen the top and bottom of the fence so that it would not roll back on itself. The method I used was to attach strips of wood which I ripped from old 2x4's and then stapling them to the top and bottom. This method worked much better than I thought but since I made them after this past Christmas they have not been exposed to the weather. Hopefully the wood will not bow. The wood strips were 1/2"x1/2" cross section.
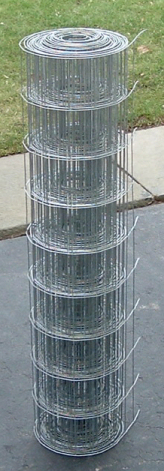 |
To the left is the roll of fencing that I purchased at Home Depot at a cost of $24 for the 50' roll. The fence is 14 gauge galvanized. For the sign I used about 20' to accomodate the excess needed between the panels Below is a picture of one of the panels while I was attaching the strips of wood to the top and bottom. You can see how the fence tends to want to roll back on itself without the attached wood. After adding the bracing the panels are rigid enough to pickup and move around without worrying about bending them. |
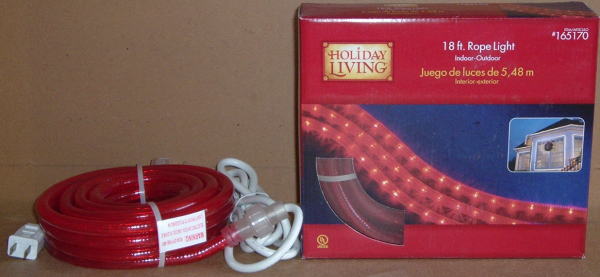
Now that the panels are made it was time to start attaching the ropelight. The ropelight I used was from Lowe's. I had purchased 10 boxes of 18' red ropelight during their after Christmas sale. Since I had individual packages and not one single roll of rope light it helped that most of the letters would already have their own electrical cord attached saving me from having to do it myself. The downside to using individual packages was that it did not have markings on the ropelight where it would be safe to cut it. After some trial and error I determined that the rope light I had was created using 3' sections. This meant that I could cut it every 3' or 36 lights. If you do not want to animate your sign you could use the end to end connectors to make the entire sign out of one long length and just blackout the light segments between the letters.The box stated that you could connect up to 200' on one cord. I knew I wanted mine animated so each light would need to be controlled separately and thus would need its own cord.
When I made my sign the outside temperature was below freezing and inside the garage was not much warmer. To make the rope light more flexible I found that if I plugged it in while still coiled, after 5 minutes at became very flexible. Note: Do NOT leave a coiled up roll of rope light energized much more than 5 minutes or you will risk melting the outer jacket and ruining the lights.
Now that the panels were made and the lights were warm it was time to start attaching. I had printed out each letter individually from my layout sheets and then used them to start placing the rope light. It was just a matter of using the coordinates from the drawing to create the letters a few inches at a time. Sort of like a connect the dots type puzzle. To attach the rope light I used 20 gauge galvanized wire that I purchased at Lowe's. The wire comes on a dispenser roll and contains 175' for $2.79. I needed 2 rolls. I cut pieces of wire about 4" long and then wrapped it around the light and fence and then twisted the ends together using a pair of pliers. Make sure you don't over twist or you will risk having the wire slice into the jacket of the rope light. You want it snug so that it does not move but not too tight. This is the most time consuming part of the project. I don't know how long it took to form all of the letters but I would estimate about 45 minutes to 1 hour per letter depending on its size.